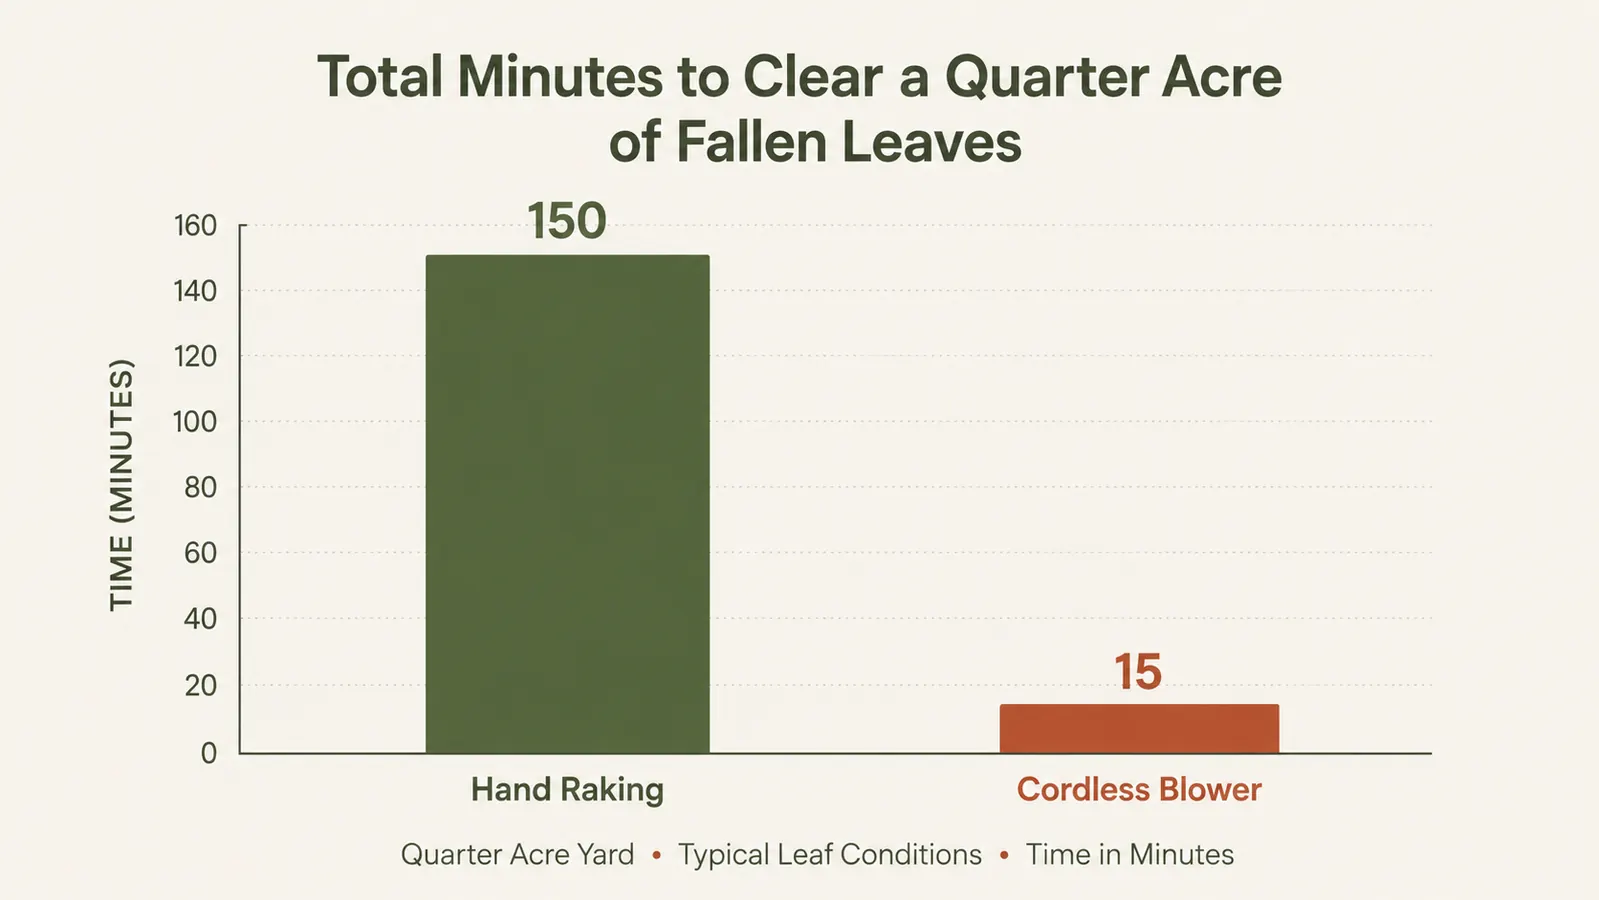
A yard full of wet leaves does not care that you have a 6 a.m. shift. I work at a dialysis clinic, and my mornings before work are maybe forty minutes long once you take out coffee, the dog, and getting dressed. For a long stretch of every October and November, that forty minutes disappeared into raking a yard I never fully finished, leaving half the lawn under a soggy layer that smothered the grass underneath by the time I got back to it on my day off.
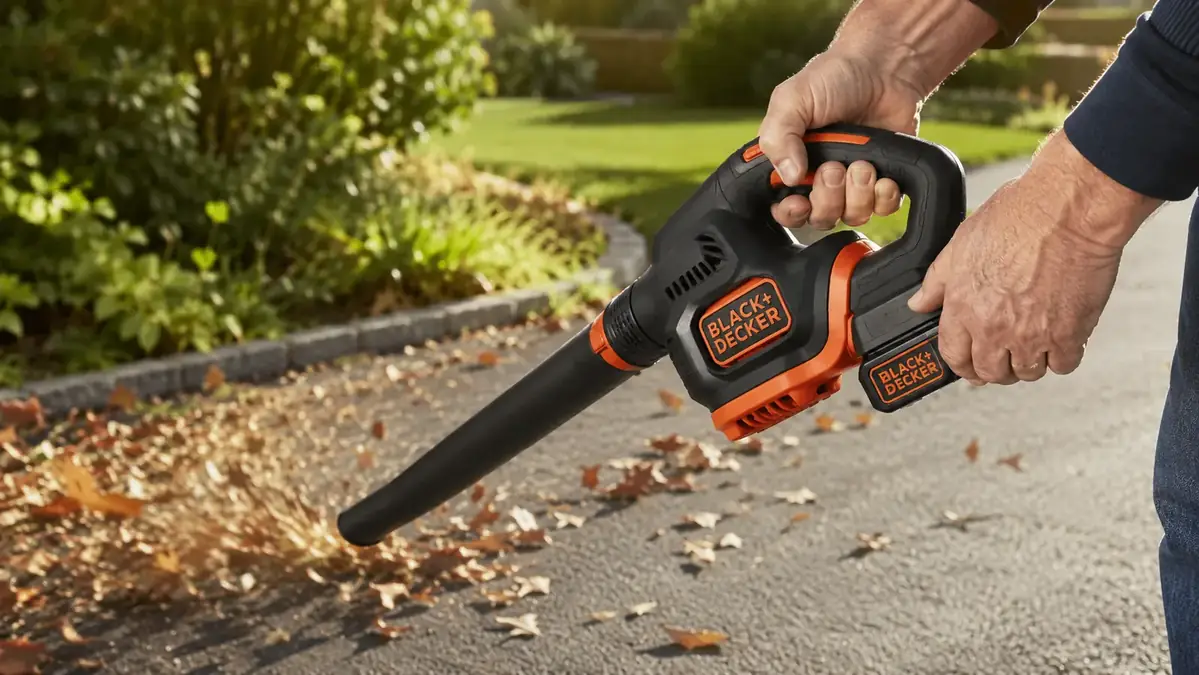
What actually fixed this for me was switching to a cordless leaf blower, specifically the BLACK+DECKER Cordless Leaf Blower, the 20V MAX model with the 130 mph rated air speed and a battery and charger included in the box. It is light enough that I am not fighting the tool itself, and it starts the second I pull the trigger, no pull cord, no gas smell in the garage before sunrise. What follows is the exact method I use to clear a full yard of leaves in under twenty minutes, in the order I do it, so you can get through your own yard before you have to leave.
Stop Losing Your Whole Morning to a Rake
The BLACK+DECKER Cordless Leaf Blower runs on a 20V MAX battery, hits 130 mph air speed, and weighs little enough that a whole yard does not wear out your arm before your shift starts. Battery and charger are included.
Amazon Check Today's Price on Amazon →Step 1: Charge the Battery the Night Before, Not the Morning Of
This sounds obvious until you are standing in the garage at 5:40 a.m. with a battery that is only half full. I keep the charger plugged in near the back door and drop the battery on it every evening once the leaves have actually fallen for the day, the same habit I have with my phone. A full charge on the BLACK+DECKER blower gets me through a normal yard with room to spare, but only if I start with all of it rather than whatever is left from two days ago.
I also keep an eye on the weather the night before, since a wet forecast changes the whole plan. Leaves that got rained on the night before are heavier and slower to move than dry ones, so on those mornings I plan for a slower pass and sometimes skip the far side of the yard until the sun has had an hour to work on it after I leave. There is no version of this where fighting wet, matted leaves at full speed saves you time. It just tires your arm out faster for less ground covered.
I also give the battery contacts a quick wipe with a dry rag once a week during the heaviest part of the season, since morning dew finds its way into the garage more than people expect, and a damp contact is the kind of small thing that turns into a blower that will not hold a charge by December. Thirty seconds, once a week, and I have not had a charging problem in two full seasons of daily use.
Step 2: Start With the Big Open Spaces, Not the Edges
I used to start at the edges of the yard, along the fence line and under the maple, because that is where the leaves piled up thickest and it felt like the obvious place to begin. That was backwards. Now I start in the open middle of the lawn first, where the leaves are scattered thin, and blow everything toward one collection point, usually the low corner near my garden beds where I can pile it without it blowing back across ground I already cleared.
Working the open areas first means every pass afterward is pushing a growing pile in one direction instead of chasing loose leaves that scatter the second the blower passes over them. By the time I get to the edges and the thick spots under the trees, I am not starting from scratch, I am just adding those leaves to a pile that is already moving where I want it to go.
This also matters for how much of the yard I can actually finish in one battery charge. Thin, scattered leaves take almost no power to move, so clearing the open middle first uses the least effort for the most visible progress, and that progress is what keeps me from feeling like I am running out of time halfway through. I save the thick, packed spots under the trees for when I have already built momentum and a growing pile to feed them into.
Step 3: Work With the Wind, Not Against It
I check which way the wind is blowing before I turn the blower on, every time, because fighting a 10 mph breeze with a leaf blower is a losing trade even at 130 mph. If the wind is coming out of the northwest, which it usually is here by late October, I start on the northwest side of the yard and work with it, letting the natural airflow help carry leaves toward my pile instead of scattering them back the second I move on.
On calmer mornings, I still pick a consistent direction and stick to it for the whole yard rather than switching back and forth, since leaves that get blown one way and then another just end up scattered wider than when I started. One direction, one pile, every time, even if it means walking a slightly longer path to get there.
Step 4: Angle the Nozzle Low and Use Short, Overlapping Sweeps
Holding the nozzle level or pointed up wastes most of the airstream on open air above the leaves. I keep the nozzle angled down, close to the ground without touching it, so the airstream actually catches the leaves and moves them rather than blowing over the top of them. On a driveway or patio, I drop the angle even lower and let the blower skim just above the surface, which clears stubborn leaves stuck in seams and corners that a higher angle misses entirely.
I move in short, overlapping side-to-side sweeps rather than one long steady stream in a single direction. Each sweep should cover ground the last one already touched by a few inches, the same way you would mow in overlapping rows, so you are not leaving thin missed strips of leaves behind you that you will notice on the walk back and have to redo.
This blower has a variable speed trigger, and I use the lower settings around flower beds and mulch, since full power at close range will scatter mulch and light garden debris right along with the leaves. Full power is for open lawn and hard surfaces. Anything near a bed I have actually planted gets a lighter touch, both to save the mulch and to keep from blasting soil away from anything shallow-rooted.
Step 5: Pile, Don't Scatter, and Bag on the Way Back Inside
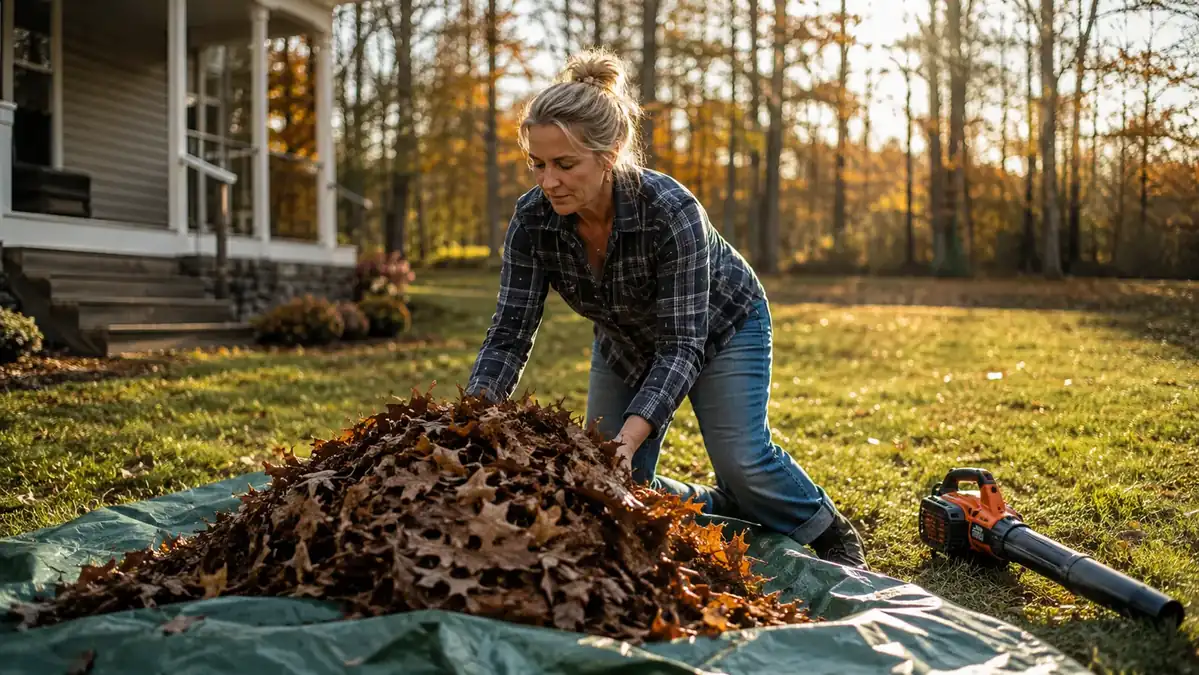
I always build one central pile rather than several small ones scattered around the yard, since a single pile is faster to bag or tarp and a lot easier to keep from blowing apart again in a gust. As the pile grows, I stop blowing directly at its center, since that just pushes the top layer off the sides. Instead I work the perimeter of the pile, feeding new leaves into its edges so it grows outward and upward instead of spreading.
For bagging, I keep a stack of paper lawn bags folded flat by the back door, so the move from blower to bag is one motion instead of a separate trip to find bags I forgot to set out. On mornings I am tightest on time, I use a spread tarp instead, since dragging a full tarp to the curb takes under a minute and I can deal with actual bagging on my day off. Either way, the goal is getting the leaves off the lawn and out of the way before I have to walk out the door, not making the pile look tidy.
What Else Helps
A second battery changed more about my routine than any technique did. The BLACK+DECKER blower ships with one battery and one charger, and a single charge covers a normal morning fine, but on the weekends when I am doing the whole property, including the gutters' worth of leaves that end up along the foundation, having a spare charged and ready means I am not standing around waiting on a charger mid-job. I keep the spare on the charger at all times and swap it in the moment the first one starts to slow down.
I also blow the driveway and walkway last, not first, even though it is tempting to knock out the easy hard surfaces right away. Doing the lawn first means any stray leaves that drift onto the driveway during that work get swept up in the same final pass, instead of me clearing the driveway early and then having to do it again after finishing the lawn. Last pass, one direction, done.
Storage matters more than people think for a cordless tool. I keep this blower on a wall hook in the garage rather than leaving it on the floor or in a bin, both because it is light enough that a hook holds it fine and because it means I am not digging around for it in the dark before sunrise. The battery comes out and goes straight onto the charger the second I am done, every time, so it is never a question of whether it has enough charge for tomorrow.
Ear protection is a small thing I did not bother with the first season and now do not skip. This blower is quieter than the gas one I used to borrow from a neighbor, but running any blower for twenty minutes a morning across a full season adds up, and a cheap pair of earmuffs from the hardware store solved that without adding any real time to the routine.
The last habit worth mentioning is doing a five minute pass every couple of days instead of waiting for one big Saturday cleanup. A yard that has been getting hit lightly all week takes barely any time on a weekday morning, since there is never more than a light scattering to move. The years I let leaves build up for a week before dealing with them are the years the job actually felt like work, wet, matted, and heavy enough that the lower speed settings could not move it and I had to run the blower at full power the whole time just to make a dent.
The blower did not make the leaves disappear. It gave me back the twenty minutes I used to lose fighting them.
Get Your Whole Yard Cleared Before You Leave for Work
If leaf season means losing your one open window every morning to a rake, a lightweight cordless blower rated at 130 mph changes the math. One direction, one pile, one pass, and you are back inside with time to spare.
Amazon Check Today's Price on Amazon →