
There is a redbud at the corner of my driveway that gets away from me every spring if I let it. Low branches start crowding the path to the mailbox, a couple of limbs cross and rub against each other until the bark wears raw, and if I ignore it past the first week of April I end up with a tangle that takes a full Saturday to sort out instead of twenty minutes before work. My shift starts early, so whatever pruning gets done has to happen in that same narrow stretch as coffee and getting dressed, or it does not happen until the weekend, and by then the job has doubled in size.
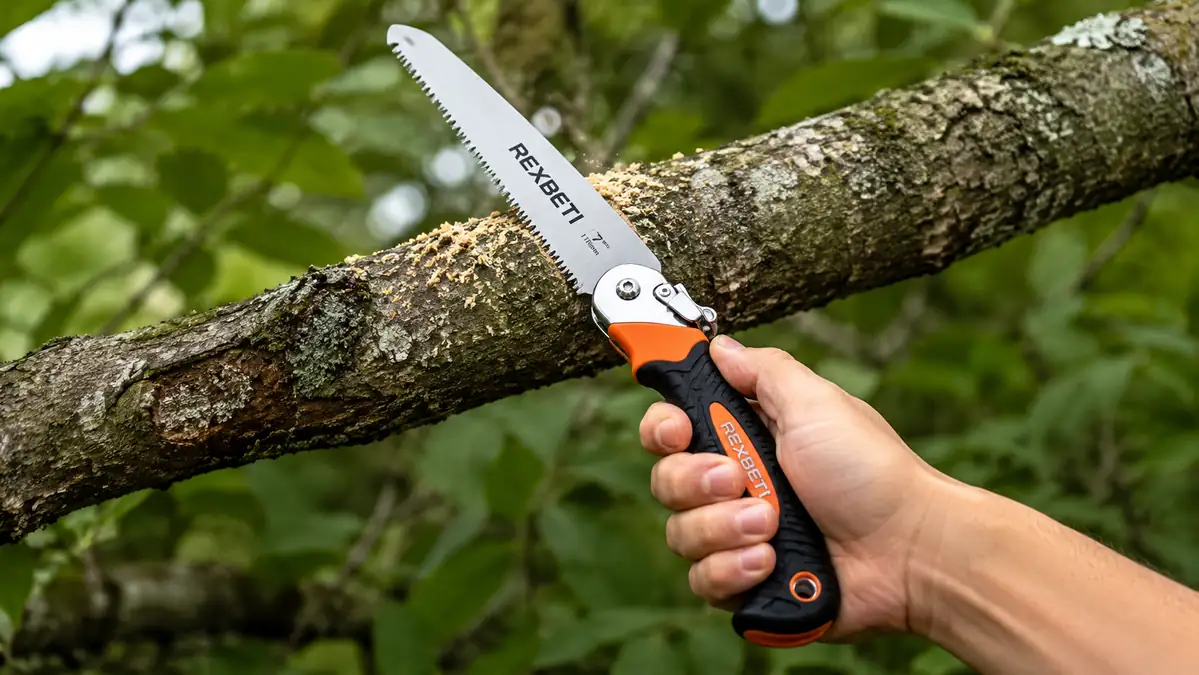
This is the method I use to clear overgrown branches fast, in one short session, without dragging out a ladder and a full toolbox. It works for live branches up to around four inches thick and dry deadwood a little past that, using a folding pruning saw instead of loppers that stall the second a branch gets past pencil-thick. I use the REXBETI Folding Saw, an 11-inch blade in SK-5 steel that folds down small enough to carry in a jacket pocket while I walk the yard deciding what needs to come off.
Stop fighting branches your loppers can't handle
Loppers are fine for pencil-thick growth and nothing else. Once a branch gets past an inch or two, a real folding saw with a sharp SK-5 blade is the difference between a clean cut in fifteen strokes and ten minutes of frustration before your coffee even cools.
Amazon Check Today's Price on Amazon →Step 1: Walk the Tree Before You Make a Single Cut
I give myself two or three minutes just to walk around the tree or shrub before touching the saw. I am looking for branches that cross or rub against each other, anything dead or clearly diseased, and low growth that is going to keep snagging on my shoulder or blocking a path. On the redbud, that usually means three or four limbs a season, not the whole tree, and knowing that number ahead of time keeps me from wandering the yard cutting things on impulse and running out of time before I need to leave.
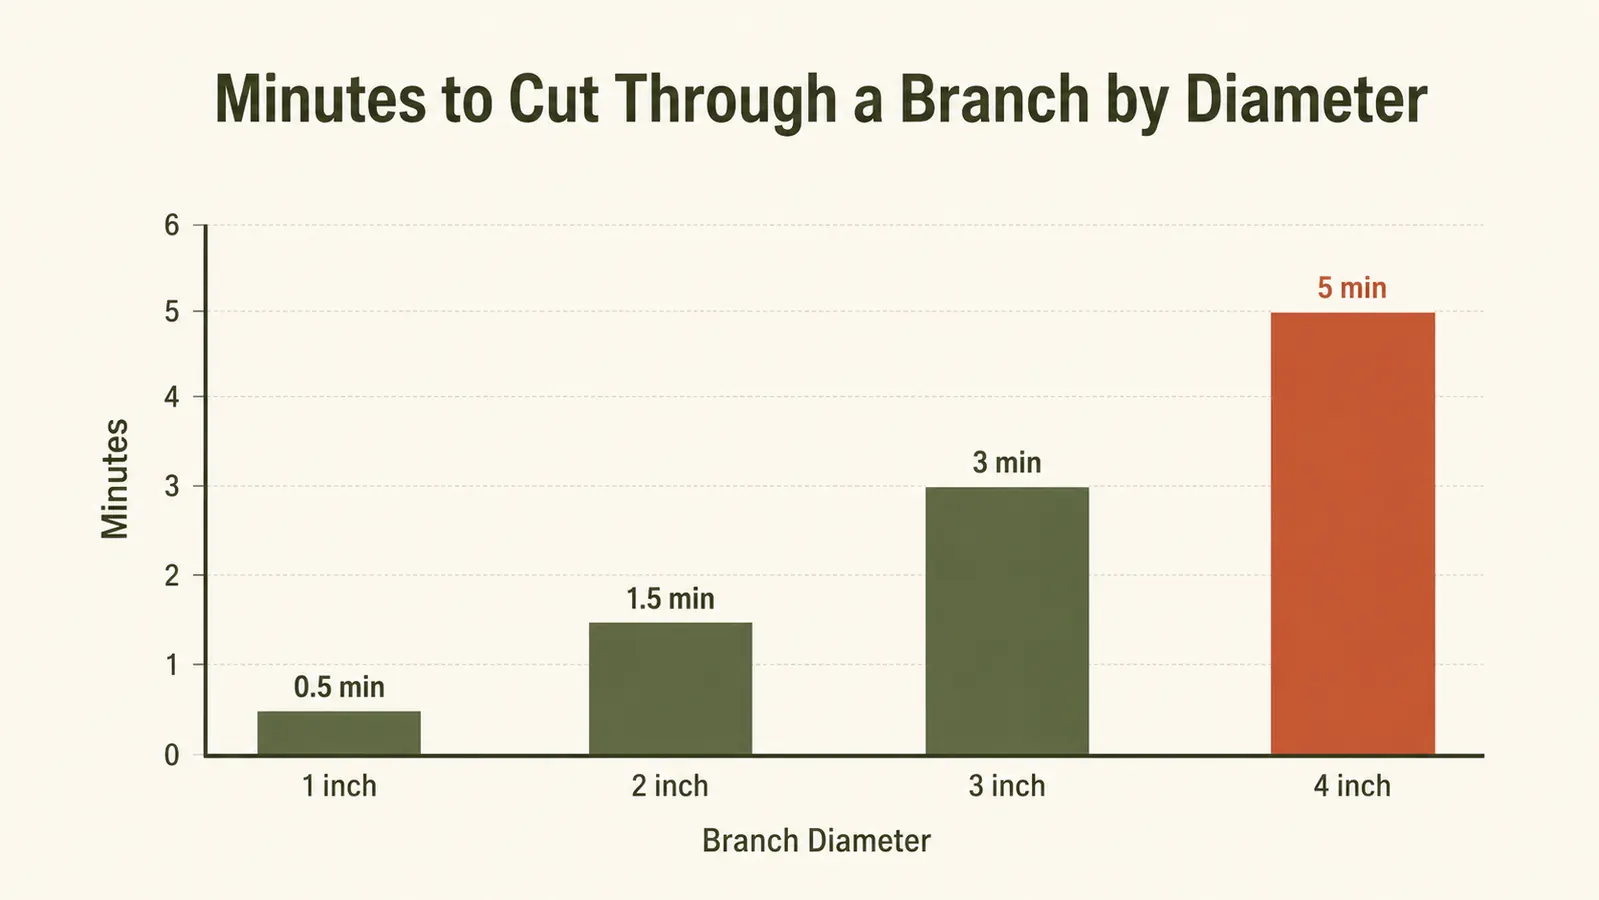
While I am looking the tree over, I also check diameter against what the saw can actually handle. The REXBETI's 11-inch blade cuts comfortably through anything up to about three to four inches without much effort. Past that, the blade length works against you and you end up sawing at an angle just to keep the teeth engaged, which is slower and more tiring than it is worth. If a limb looks bigger than my wrist and forearm together, I flag it for loppers or a bow saw instead and move on to the next branch rather than losing five minutes fighting one cut.
This is also the moment to check what is underneath the branch you are about to remove. A birdbath, a young perennial bed, a car parked too close, or a neighbor's fence all change how you approach the cut. I have learned to look up and down before I ever unfold the saw, since a branch that drops wrong onto something you care about turns a quick morning task into a bigger cleanup than the pruning itself.
Timing within the season matters here too. Most of the redbud and viburnum pruning I do happens in late winter or very early spring, while the plant is still dormant and before new buds have set, since cuts made then heal faster and you are not sacrificing a season of blooms. The exception is anything dead, damaged, or diseased, which I remove the moment I spot it regardless of the calendar, since waiting on that kind of branch rarely does the plant any favors and just gives rot more time to spread.
Step 2: Clear Your Footing and Lock the Blade Open
Before I make any cut, I clear the ground directly under the branch, moving pots, tools, or anything else out of the drop zone. A falling branch, even a small one, can snap something fragile underneath it, and I would rather spend thirty seconds moving a flowerpot than replacing one later. If the branch is low enough to reach from the ground, I plant my feet shoulder-width apart and make sure I have a clear step back once the cut is nearly through, since branches sometimes drop faster than expected in the last stroke or two.
For anything above head height, I use a sturdy step stool rather than stretching up on my toes, which is how I end up with an uneven cut and a sore shoulder by the time I get to work. Gloves go on before the saw comes out, always, since the SK-5 blade on this saw is genuinely sharp and I have nicked a knuckle exactly once reaching past the blade to steady a branch. I unfold the saw fully and listen for the lock to click into place, then give it a light shake to confirm there is no wobble in the hinge before I start cutting.
I also check the ground itself before I start, especially after rain. Wet grass or a muddy patch under the tree changes my footing more than people expect, and a slip mid-stroke with a sharp blade is not a risk worth taking to save five minutes. If the ground is soft, I take the extra few seconds to find drier footing or lay down a scrap board to stand on, rather than rushing the cut because I am already thinking about the time on the clock.
Step 3: Start With an Undercut on Anything Heavier Than Your Wrist
For any branch heavier than about an inch and a half, I start with a small undercut on the underside of the branch, a few inches out from where the final cut will land. This is a short, shallow cut, maybe a third of the way through, made by angling the blade upward. The point of the undercut is to stop the bark from tearing down the trunk or the parent limb when the branch's own weight finishes pulling it off. I skipped this step my first season with a folding saw and split bark down a good eight inches on a viburnum I was trying to thin, which took the plant most of a year to grow back over.
On a two-inch branch this undercut takes maybe five or six strokes. On something closer to three inches, I go slower and check my angle every few strokes rather than rushing it, since an undercut that goes in crooked does not do its job of protecting the bark above it. The REXBETI's hard teeth bite fast enough on the pull stroke that this step goes quicker than it sounds, usually under a minute even on the thicker limbs I flagged in step one.
Step 4: Finish With the Top Cut and Let the Blade Do the Work
Once the undercut is started, I move to the top of the branch, a couple of inches further out from the trunk than the undercut, and begin the finishing cut downward. The mistake I made early on with a cheaper saw was pressing hard on every stroke, which just tired my arm out and did not actually cut faster. With a sharp blade like this one, the teeth are doing the work on the pull stroke, and I only need light, steady pressure to keep the blade tracking straight. Forcing it usually just makes the cut wander off the line I wanted.
I keep my strokes long, using the full length of the 11-inch blade rather than short quick sawing motions that only use the middle few inches of the teeth. Long strokes clear sawdust and wood chips out of the cut as you go, which keeps the blade from binding partway through, something that used to happen to me constantly with an old bow saw that had too short a stroke for anything past two inches. On a typical two-inch branch, this top cut takes about ten to fifteen strokes once the undercut has done its job of preventing any tear-out.
One dead limb on the redbud last October ran closer to three and a half inches, dried out and brittle from a summer of drought stress. That one took nearly thirty strokes and a short break halfway through to shake out my hand, which is about the upper edge of what I would ask an 11-inch folding blade to handle before switching to loppers or a bow saw. Anything drier and harder like that cuts faster in some ways, since there is no green wood fighting you, but it also dulls a blade quicker over a season, so I do not push it past that size out of habit.
Step 5: Make the Final Pass Clean and Clear the Debris Right Away
As the branch nears the end of the cut, I ease off pressure and let gravity finish the last quarter inch or so, rather than sawing straight through and risking the blade jerking forward once resistance drops off suddenly. This keeps the final cut cleaner and keeps my hand from following through into anything sharp. I always cut just outside the branch collar, that slightly raised ring where the branch meets the trunk, rather than flush against the trunk itself, since a flush cut heals slower and leaves the tree more open to rot and disease over time.
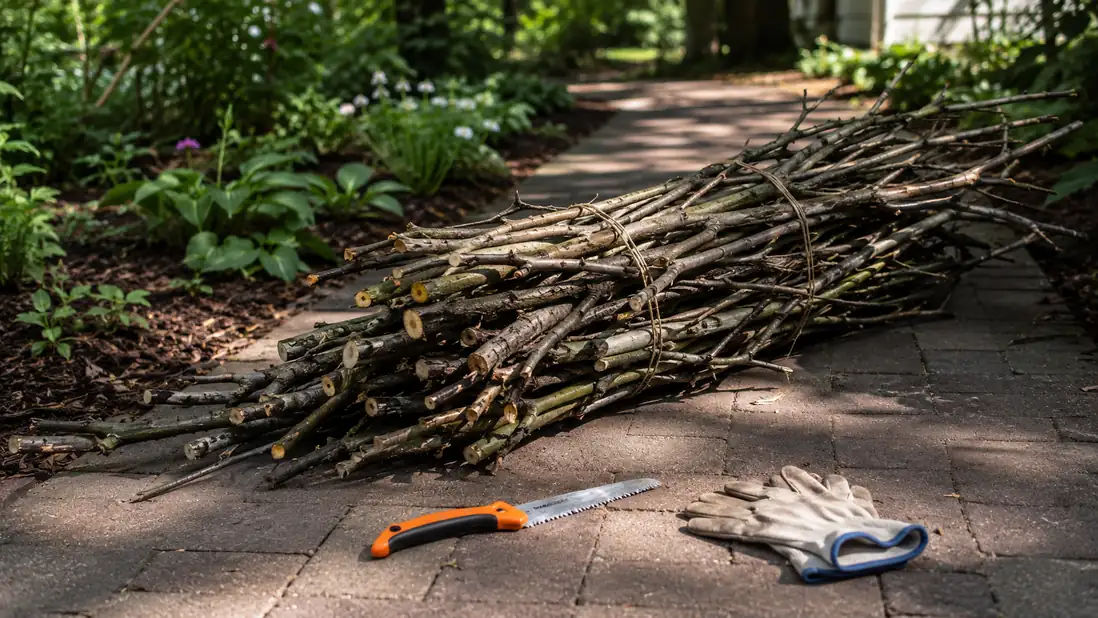
The last part of this step is the one people skip when they are in a hurry, and it is the reason a job gets left half-finished. I fold the saw back down right away, before I set it aside, and I clear the cut branches off the path immediately rather than leaving them for later. On a morning with twenty minutes to spare, dragging brush to the pile takes less time than it feels like it will, and starting the next day with a clean yard instead of a scattered mess makes the whole habit easier to keep up.
What Else Helps
A few small habits make this whole process faster over a season instead of just for one tree. I keep a pair of bypass loppers next to the saw for anything under an inch thick, since switching tools for the smallest cuts saves wear on the saw's teeth for the jobs that actually need them. I also wipe the blade down with a rag after any session where sap builds up, since dried sap dulls a blade faster than the wood itself does, in my experience. And I keep a short length of twine in my jacket pocket during pruning season, since bundling brush as I go means one trip to the pile instead of an armful at a time.
Timing matters more than people expect too. I do the bulk of my pruning in the fifteen or twenty minutes right after I first check the yard in the morning, before the light gets harsh and before my own schedule pulls me toward getting ready for work. A tree that looks overwhelming on a Sunday afternoon usually breaks down into four or five manageable cuts once you have actually walked it and picked your targets, which is really the whole point of step one.
I also give the saw a quick check at the start of each pruning season before the first real cut, folding and unfolding it a few times to confirm the lock still holds firm, and running a light coat of oil along the pivot if it has sat unused since the last frost. That two-minute check has caught the one loose spot I ever found on this saw before it turned into a problem mid-cut, and it means the tool is ready the moment the weather is.
The saw does not make the branch lighter. It makes the fifteen minutes you have actually enough.
A sharp cut takes seconds. A dull tool takes your whole morning
If overgrown branches keep piling up faster than your schedule allows, a saw that actually bites on the first stroke is the difference between clearing a tree before work and putting it off another week.
Amazon Check Today's Price on Amazon →