
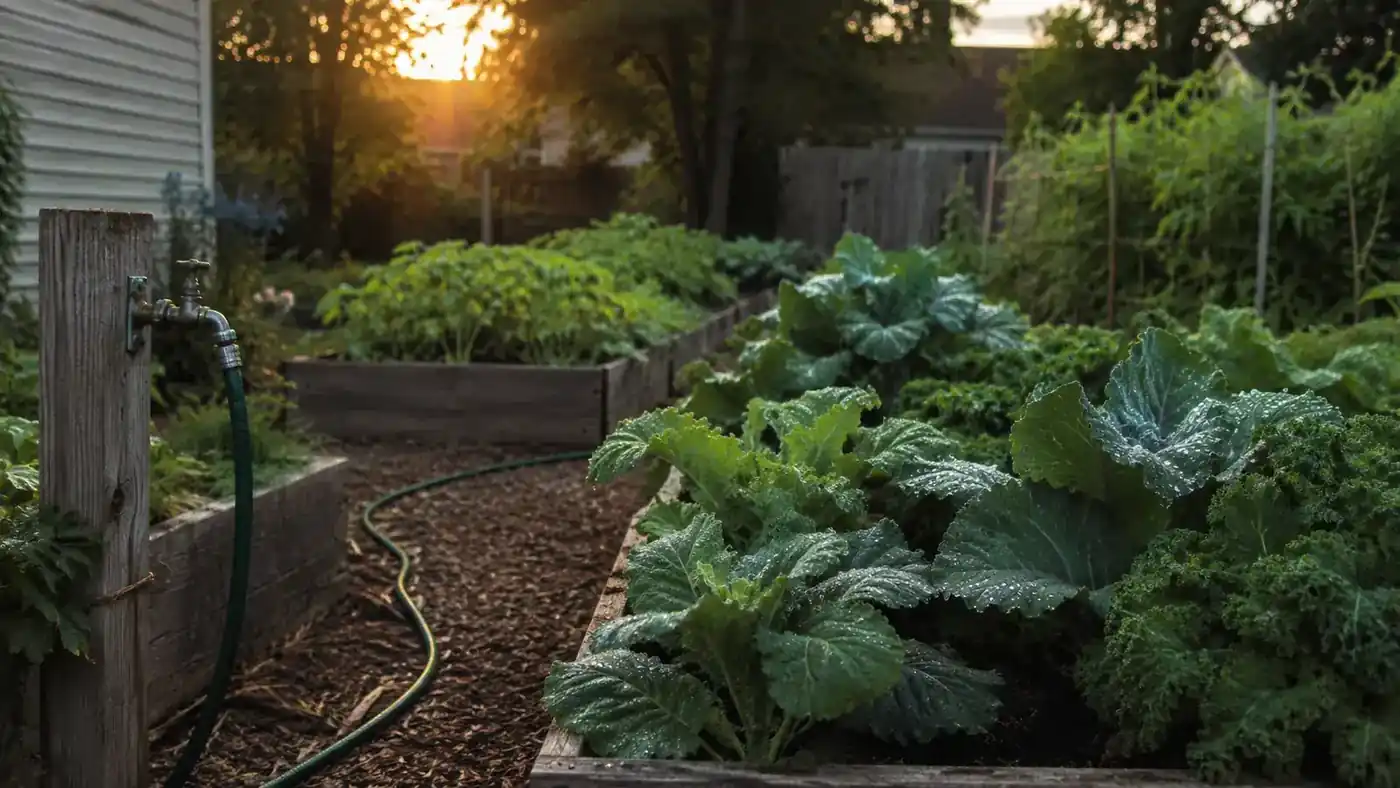
I've kept a vegetable bed and a decent stretch of perennials going for going on eleven years now, and for most of that time the biggest threat to any of it wasn't drought, or bugs, or soil that never quite drained right. It was my own schedule. I'm out the door most mornings by twenty past six, and by the time I'm home the evening sun has already finished off anything I forgot to water. If you've ever stood in the kitchen with your keys in your hand, weighing five more minutes with the hose against being late, you already know the exact problem this guide is solving.
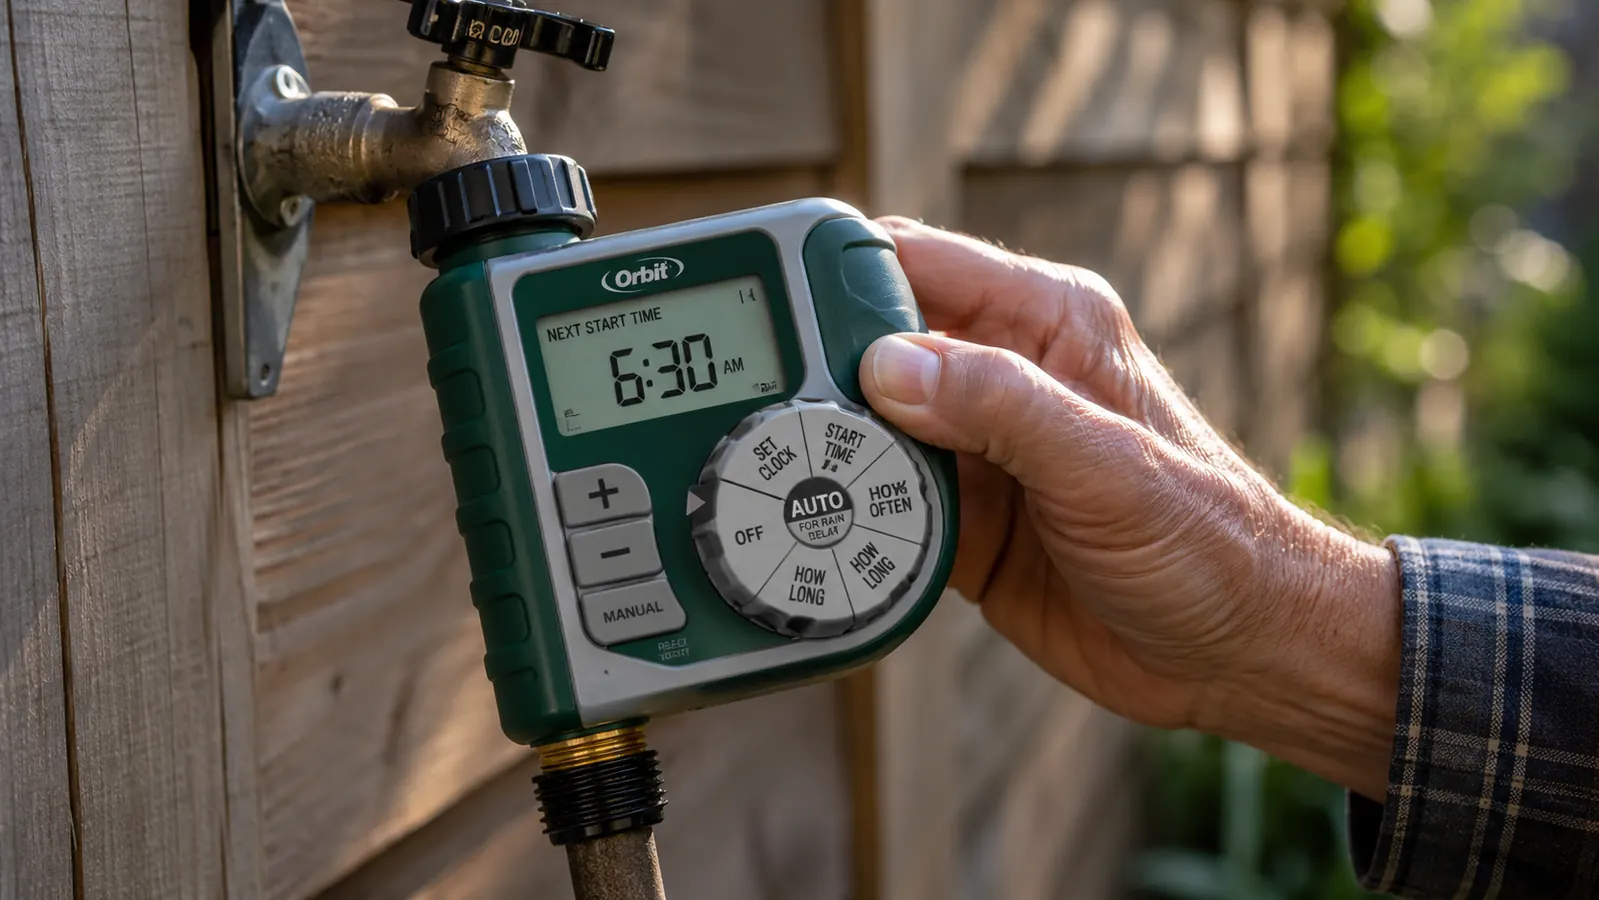
The fix I landed on, after a few too many seasons of guilt-watering on my lunch break, was a battery powered hose timer. The one that's lived on my spigot for close to two years now is the Orbit Programmable Digital Hose Watering Timer, the single outlet model with the LCD screen and the built-in rain delay. It runs around thirty dollars, takes two AA batteries, and once it's set up it waters the garden whether I'm standing there with a cup of coffee or already sitting in the parking lot at work. What follows is the exact walkthrough I used to get mine running the first time, and it holds up whether you're watering crowded flower beds, a row of tomato cages, or one stubborn strip of new grass by the fence.
I want to be upfront that this isn't a magic fix that replaces knowing your own yard. It's closer to hiring a very literal, very punctual helper who does exactly what you tell it and nothing more. The five steps below are the same ones I'd walk a neighbor through if they asked me over the fence, in the order that actually matters, not the order that looks impressive in a manual nobody reads.
Stop Setting an Alarm Just to Water the Tomatoes
The Orbit timer does the one job that keeps eating your morning: turning the water on and off at the right time so you don't have to be there for either. Two AA batteries, a five minute setup, and it's off your plate.
Amazon Check Today's Price on Amazon →Step 1: Figure Out How Much Water Your Beds Actually Need
Before you program anything, spend one evening actually testing your soil instead of guessing. I set out three empty tuna cans in different parts of the bed, ran the hose for fifteen minutes at a normal flow, then measured what collected in each can. That told me my clay-heavy spot by the back fence held water for twice as long as the sandy strip near the driveway, which is why one blanket setting never worked for the whole yard. If you've only got one zone to worry about, the finger test is enough: push a finger two inches into the soil the morning after watering. If it's still damp at that depth, you're already watering enough or possibly too much.
Write the number down somewhere you'll actually see it again, a sticky note on the shed door works fine. Mine reads fifteen minutes for the vegetable bed and twenty-two for the perennial border, because that bed dries out faster with more sun exposure most of the day. This step feels like it slows you down, but skipping it is exactly how people end up running a timer for thirty minutes when their soil only needed twelve, which wastes water and can actually invite root rot in anything that doesn't like wet feet.
It's also worth doing this test twice, once in a normal week and once during a stretch of real heat, since the same soil can behave differently once the ground itself warms up. I learned that the hard way the first August I owned this house, when a schedule that had worked fine in May left my beans looking tired by the third week of a heat wave. Now I keep a second, slightly longer setting written down for the hottest six weeks of summer, and I switch to it the same way I'd switch a thermostat schedule for winter.
Step 2: Attach the Timer and Run It Through a Manual Cycle First
Screw the timer directly onto the spigot threads, hand tight is enough, you don't need a wrench and forcing it can crack the plastic housing. Check that the rubber washer inside is seated flat before you tighten it, because a crooked washer is the most common reason these things drip at the connection. Then attach your hose to the timer's outlet side the same way. Before you touch the programming buttons at all, turn the spigot on and let the timer run in manual mode for a minute or two. Walk the length of the hose while it's running and look for weak spots, kinks, or a leak at either connection point.
This is also when I check that the battery compartment door is snapped shut all the way and angled so rain runs off it rather than pooling on top. The Orbit unit is rated water resistant, not waterproof, and mine has taken two full summers of Ohio storms without an issue, but I still keep the display angled slightly downward when I mount it, just so water doesn't sit directly on the screen overnight.
If you've got a splitter or a Y connector already on that spigot for a second hose, test the timer with that in place too, since the added fitting can sometimes reduce water pressure enough to matter. I run a soaker hose off one side of mine for the vegetable bed and a regular spray nozzle off the other for the border, and it took a manual test run to notice the soaker side needed a couple extra minutes to deliver the same amount of water.
Step 3: Program a Start Time Around Your Actual Morning, Not an Ideal One
Every watering guide will tell you to water at sunrise, and that's true in theory, but it doesn't account for the fact that most of us are not standing in the yard at 5:40 in the morning. The advantage of a timer is that it doesn't need you to be. I set mine to start at 5:40, which is roughly twenty minutes before I need to be showered and out the door, so the beds are already soaking in while I'm making coffee and packing a lunch. If your shift starts later, back the start time up from whatever your own out-the-door time is, aiming to finish watering at least thirty minutes before the sun gets high enough to burn off the moisture too fast on leaves.
On the Orbit unit, this means pressing the start time button and dialing in the hour with the up and down arrows, same as setting a microwave clock. It sounds almost too simple to matter, but the whole point of this project is removing decisions from your morning, not adding a new gadget to fuss with. Once it's set, you shouldn't need to touch that button again until the seasons change.

Step 4: Set the Duration and Turn On the Rain Delay
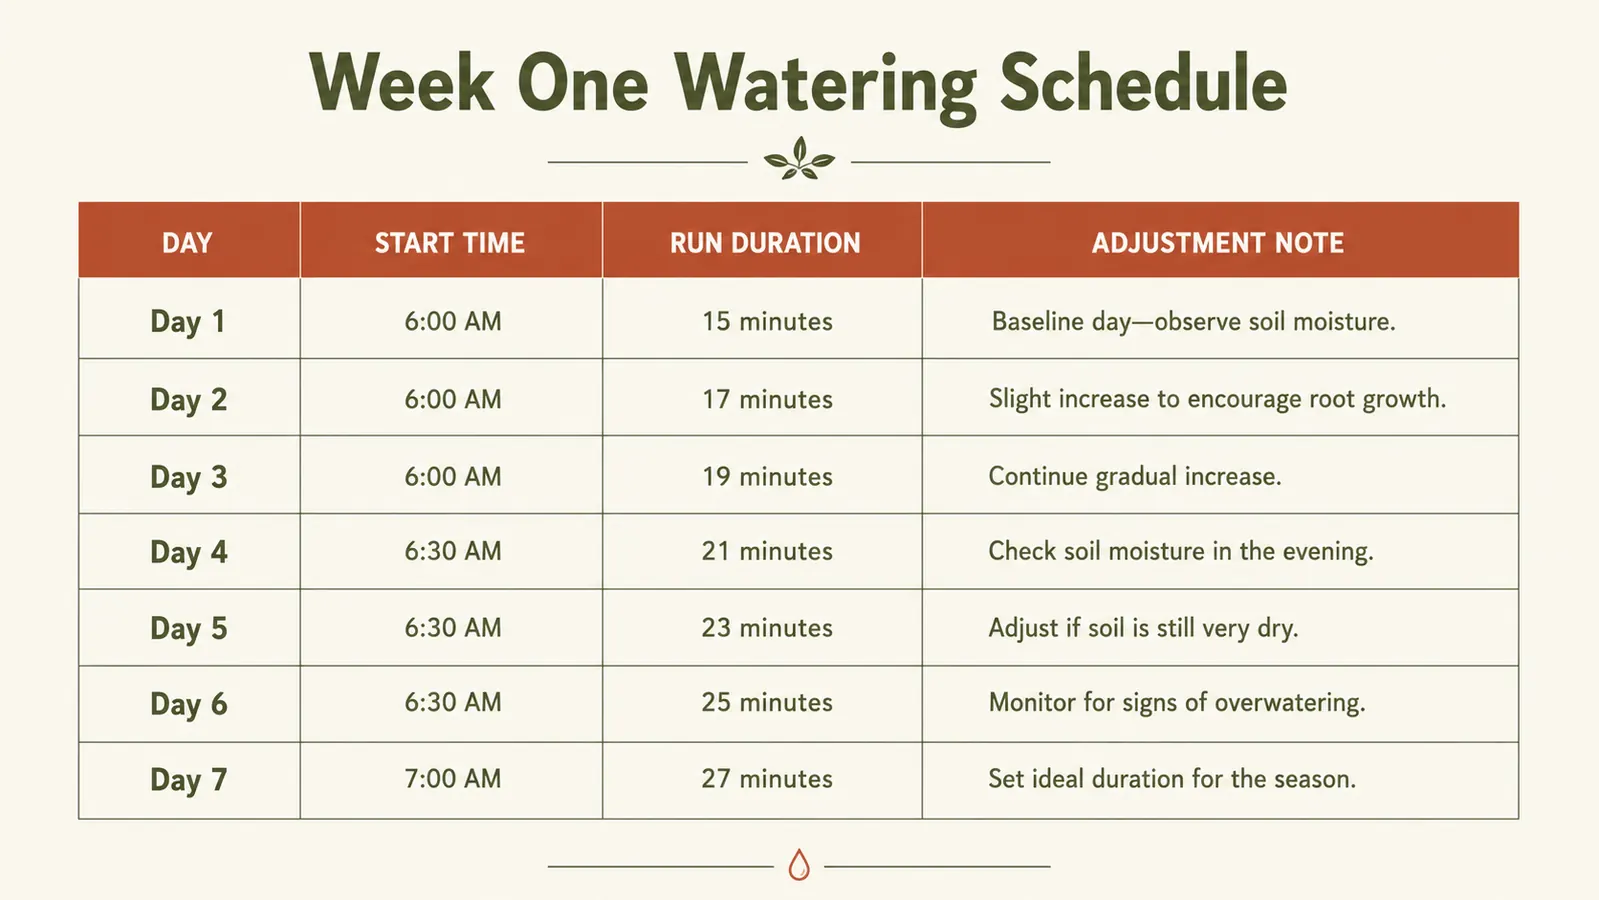
Go back to the number you wrote down in Step 1 and dial that in as your run time. I'd rather you start a few minutes short and add time over the next week than start long and end up with soggy stems on anything prone to rot, like my zucchini did the first July I tried this. The Orbit timer lets you set run time in one minute increments up to several hours, which is more range than almost anyone needs, but it means you're not stuck rounding up to a preset like fifteen or thirty.
Then find the rain delay button and press it once you know there's rain in the forecast, which skips the next scheduled run for a set number of days without you having to remember to shut the whole system off. I use this constantly during our wetter spring stretches, because there's nothing more wasteful than running an automatic watering cycle into soil that's already saturated from an overnight storm. It's a small button, but it's the difference between a timer that thinks for you and one you still have to babysit.
Step 5: Test It for a Week and Adjust Before You Trust It
Don't walk away from this after day one. For the first week, I checked the soil every evening when I got home, same finger test as before, and adjusted the run time up or down by a minute or two based on what I found. By day five mine was dialed in and I haven't touched the duration since, but that week of paying attention is what let me stop worrying the other fifty-one weeks of the season.
Keep an eye on the battery indicator on the LCD screen too. Mine has needed a fresh set of AAs about once a season, usually right around when the display starts to dim slightly before the low battery icon even shows up. Replacing them takes under a minute and costs a couple dollars, which is a fair trade for never again standing in the driveway wondering if you left the water running.
What Else Helps
A timer solves the when, but a few small things around it make the water actually count for more. A two inch layer of mulch over the root zone keeps that morning watering from evaporating by mid-afternoon, which matters most during the hot dry stretch we usually get here in late July. If you've got container plants near the spigot, running a simple splitter off the timer so pots get their own shorter cycle keeps you from either drowning them or leaving them dry while the in-ground beds get exactly what they need. And if a section of your yard never seems to even out no matter what you do, it's worth checking whether that spot is on a slope, since runoff before the water soaks in is a different problem than a timer alone can fix.
I'd also suggest walking the beds once a week even after the system is dialed in, not to water by hand but just to look. A timer will faithfully deliver the same fifteen minutes whether a plant needs it or not, and it can't tell you that a tomato has wilted from a pest problem rather than thirst, or that a downspout finally clogged and is dumping extra water into one corner every time it rains. The automation handles the routine so your attention can go toward the things that actually need it.
A timer doesn't replace paying attention to your garden. It just buys you back the fifteen minutes in the morning you don't have to spend standing over it.
Give Your Mornings Back Without Giving Up the Garden
If you're tired of choosing between being on time and keeping your beds alive, this is the cheapest fix I've found in over a decade of gardening around a work schedule. Set it once, forget it for a season.
Amazon Check Today's Price on Amazon →